Get Your Free Fence Estimate Today
How to Install a Fence: The Complete Step-by-Step Installation Guide and Expert Tips
Installing a fence is one of the most effective ways to enhance your property’s privacy, security, and curb appeal. This blog is about how to install a fence, providing a detailed, step-by-step guide and expert advice to help homeowners and DIY enthusiasts achieve professional results. By following this fence installation guide, you can ensure your fence is durable, secure, and visually appealing.
In this listicle, we’ll walk through fence installation steps, share essential fence installation tips, and cover everything from planning and materials to finishing touches.
1. Plan Your Fence Installation
Proper planning is the first step in any successful fence project:
- Determine the purpose of your fence (privacy, security, decorative).
- Measure your property accurately to calculate the materials needed.
- Check local zoning laws and property lines to avoid legal issues.
- Consider utility lines by calling 811 or your local utility locator service.
Good planning is a critical fence installation tip that prevents costly mistakes and ensures compliance with regulations.
2. Choose the Right Fence Type
Selecting the right type of fence depends on your needs and style preferences:
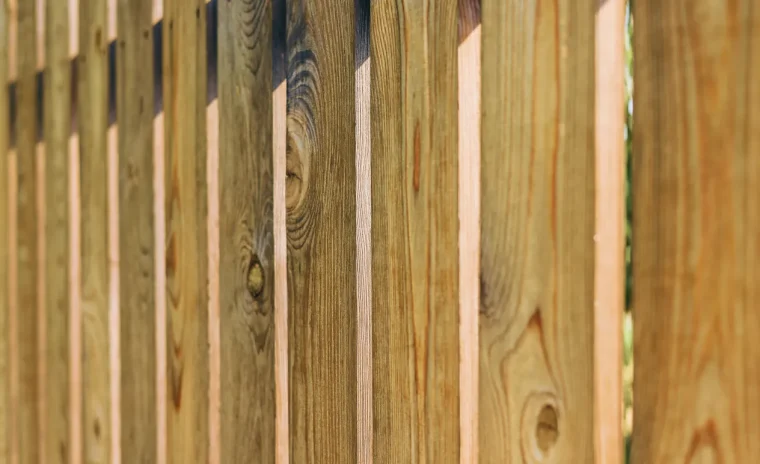
- Wood fences: Offer privacy and classic appeal.
- Vinyl fences: Durable, low-maintenance, and available in multiple styles.
- Chain-link fences: Cost-effective and secure.
- Aluminum or metal fences: Elegant, long-lasting, and low-maintenance.
Your choice impacts the installation method, cost, and long-term upkeep, so it’s important to select wisely when learning how to install fence.
3. Gather Tools and Materials
Having the right tools ensures efficiency and accuracy:
- Post hole digger or auger
- Level and measuring tape
- String line and stakes
- Hammer or drill
- Concrete mix (for posts)
- Fence panels, pickets, or rails
Proper preparation prevents interruptions during installation and makes the process smoother.
4. Mark Your Fence Line
Before digging, mark the fence layout:
- Use stakes and string to outline the perimeter.
- Measure spacing for posts according to the fence type.
- Double-check measurements and alignment to avoid crooked sections.
Marking the fence line is a foundational step in fence installation steps for precise results.
5. Dig Post Holes
Fence posts provide stability, so proper placement is crucial:
- Dig holes 2–3 feet deep for wooden or metal posts.
- Ensure hole diameter is slightly larger than the post.
- Check for level and alignment throughout the process.
Expert fence installation tips emphasize consistent depth for structural integrity.
6. Set the Fence Posts
Setting posts securely ensures a long-lasting fence:
- Place posts in holes and pour concrete around them.
- Check vertical alignment using a level.
- Allow concrete to cure for 24 to 48 hours before attaching panels.
Proper post installation is key to stability and durability.
7. Attach Rails or Panels
Depending on your fence type, the next step varies slightly:
- Panel fences: Attach panels directly to posts using screws or brackets.
- Rail fences: Attach horizontal rails first, then install pickets vertically.
- Ensure all panels or pickets are level and evenly spaced.
Following these fence installation steps ensures a professional and uniform look.
8. Install Gates
Gates are essential for access and functionality:
- Choose the gate location carefully for convenience.
- Ensure proper alignment and level when attaching gate posts.
- Use heavy-duty hinges and latches to support weight and ensure smooth operation.
Proper gate installation is a critical fence installation tip for both aesthetics and functionality.
9. Check for Level and Alignment
Throughout the process, consistency matters:
- Use a level for posts, panels, rails, and pickets.
- Adjust as needed before concrete sets or screws are tightened.
- Ensure the fence line follows your intended perimeter.
Maintaining alignment guarantees a straight, professional-looking fence.
10. Apply Finishing Touches
Finishing touches enhance both protection and appearance:
- Stain or paint wooden fences to protect against weather damage.
- Apply sealant or coating for longevity.
- Add decorative post caps or trim for aesthetic appeal.
Finishing properly is one of the most important fence installation tips for durability and curb appeal.
11. Clean Up the Site
After installation, a clean site ensures safety and aesthetics:
- Remove excess concrete, debris, and unused materials.
- Level soil around posts and fill any gaps.
- Consider landscaping around the fence for added beauty.
Cleanup is an often-overlooked step in fence installation steps, but it completes the project professionally.
12. Inspect and Maintain Your Fence
Once installed, regular inspection and maintenance extend the fence’s lifespan:
- Check for loose panels, screws, or posts.
- Look for rot, rust, or damage from weather.
- Apply touch-ups for paint or stain as needed.
Ongoing care ensures your fence remains secure, attractive, and functional.
13. Common Mistakes to Avoid
Avoid these pitfalls to ensure success:
- Ignoring property lines or local codes.
- Skipping post alignment checks.
- Using inadequate concrete or support for posts.
- Failing to maintain the fence after installation.
Being aware of these mistakes helps you execute your fence installation guide properly.
14. DIY vs. Professional Installation
While many homeowners can handle DIY fence installation, professional services offer:
- Faster completion with experienced crews.
- Expert knowledge on local codes and property lines.
- Long-term durability and structural integrity.
- Assistance with complex fences or large-scale projects.
Knowing when to call professionals is part of effective fence installation tips.
15. Plan for Seasonal and Weather Considerations
Weather can impact your fence installation:
- Avoid installing in frozen or excessively wet soil.
- Consider wind, rain, and sunlight exposure when choosing materials.
- Schedule maintenance during favorable weather conditions.
Planning for weather ensures smooth installation and long-lasting results.
Conclusion
Knowing how to install a fence involves careful planning, selecting the right materials, following proper fence installation steps, and applying expert fence installation tips throughout the process. From marking your layout and digging post holes to attaching panels and applying finishing touches, each step plays a role in creating a secure, durable, and visually appealing fence.
Whether you’re a DIY enthusiast or seeking professional advice, this fence installation guide equips you with the knowledge and confidence to achieve high-quality results and enhance your property’s value and security.